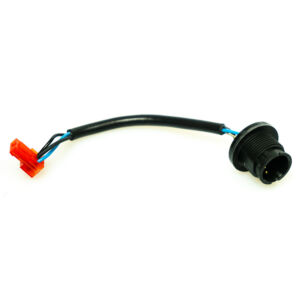
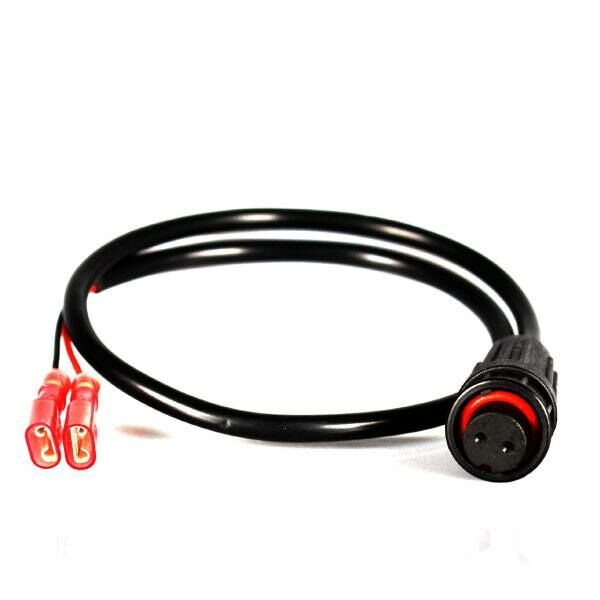
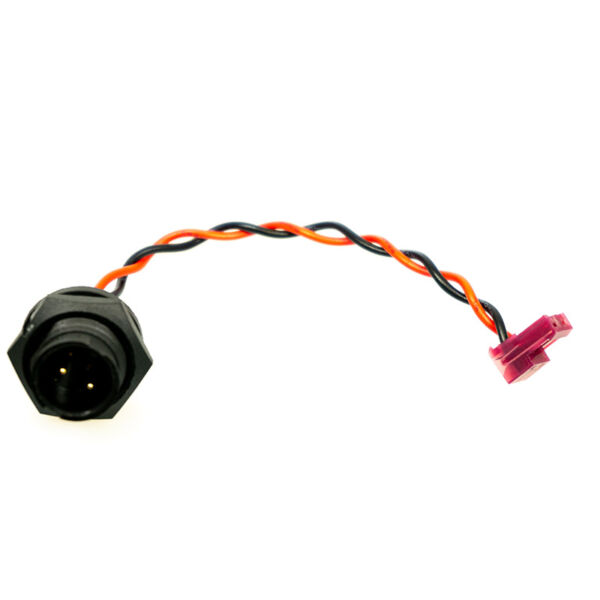
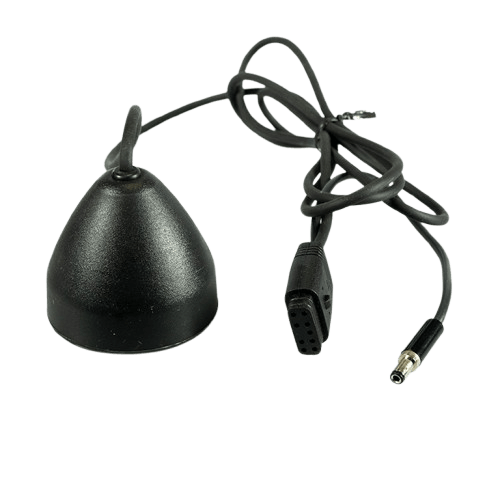
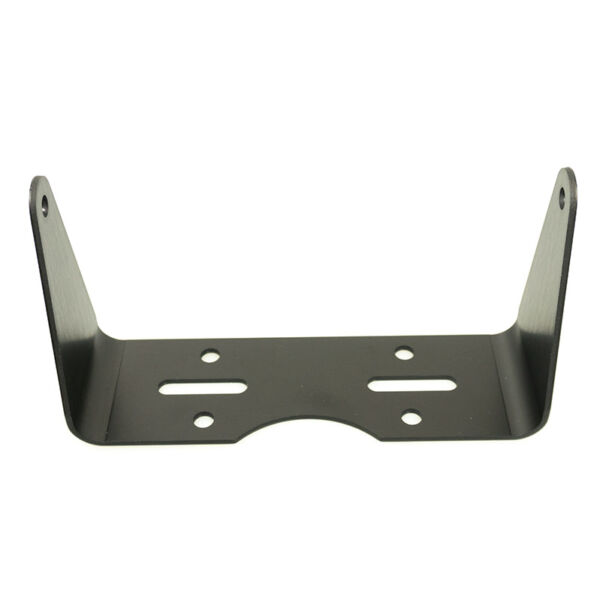
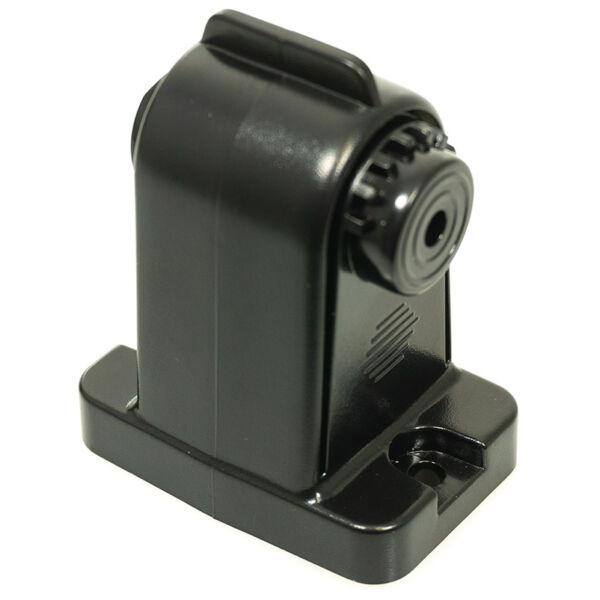
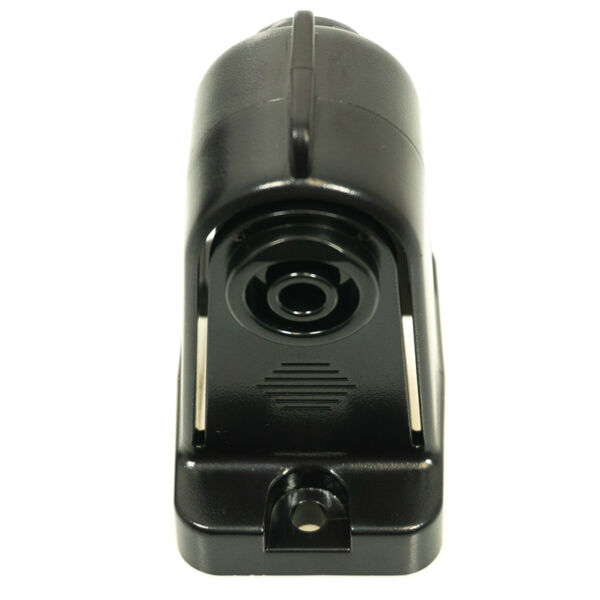
Internal Ducer Plug for LX & M-series Flashers
$9.99
Internal Ducer Plug for LX & M-series flashers
3 prong connection
In stock
How to Replace the Internal Plug
Step 1: Put the flasher dial side down on a steady surface and remove the 8 screws on the back of the head unit.
Step 2: With the flasher still face down, carefully open the unit by grabbing near the red seal that wraps around the unit.
Step 3: Locate the transducer power connector (black cable) on the motherboard.
Step 4: Remove the transducer connector by pulling up and away from the motherboard.
Step 5: Unscrew the transducer plug washer from the back of the housing.
Step 6: Remove the bad plug from the housing by pushing it towards the motherboard.
Step 7: Insert the new plug by plugging in the connector to the motherboard and putting it through the back housing open slot.
Step 8: Screw the washer back on to tighten the new plug to the back of the head unit.
Step 9: Close the unit and screw in the 8 screws on the back.


