The Beginner’s Guide to Using an Ice Fishing Flasher
The first step to purchasing an ice fishing flasher is understanding how one works. From turning the unit on to identifying a fish – we walk through all of the basics to using an ice fishing flasher below.
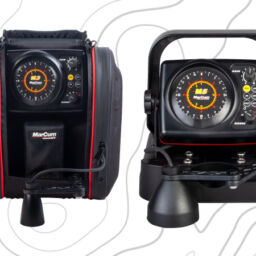
For this breakdown, we are using our traditional flashers series flashers that are reliable, simple, and affordable. You can learn more about our flasher series by clicking here.
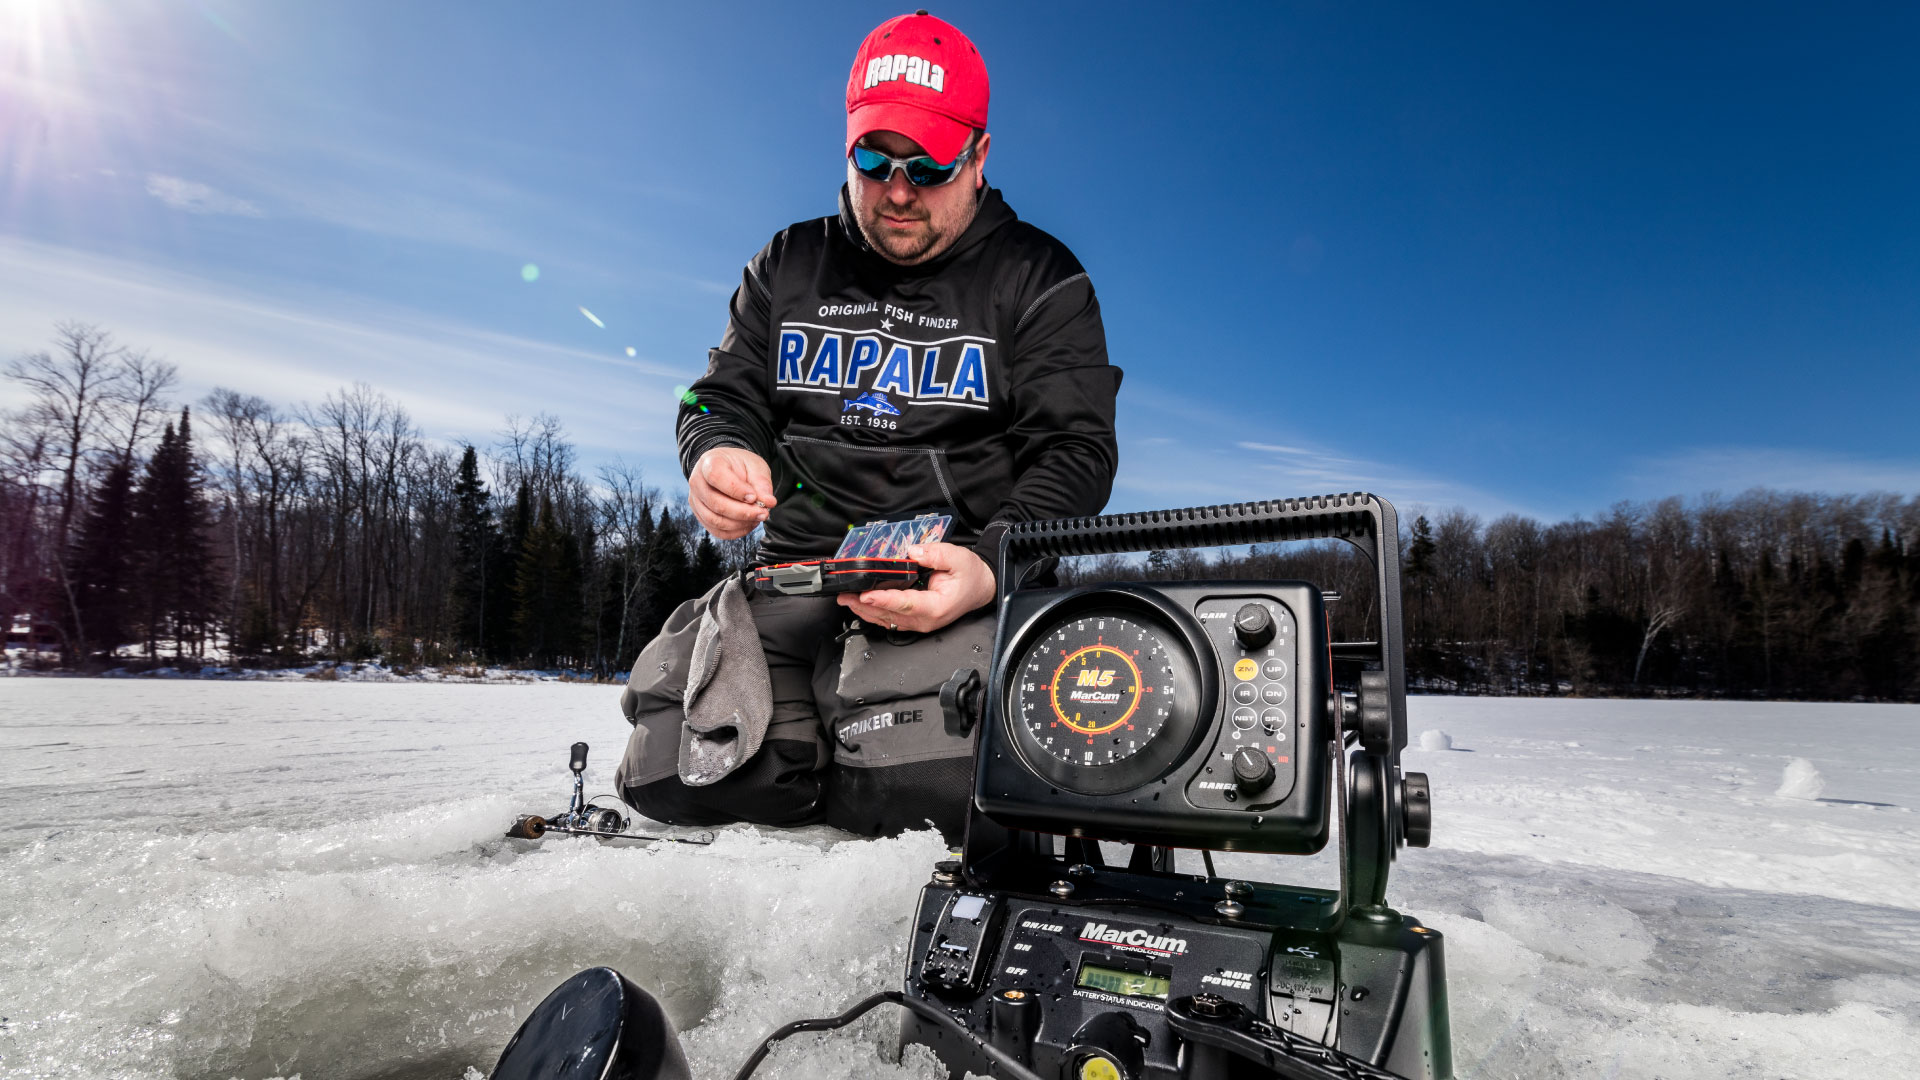
Make Sure the Unit Has Power
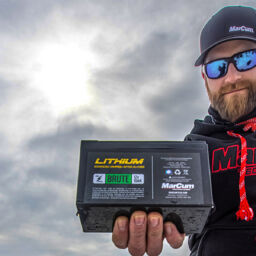
The first step is to make sure your unit has power. To do this, check the battery terminals, and make sure the leads are attached to these terminals. Of course the best, and alternative option is to pair it with a Lithium Shuttle.
For users that use a Lithium combo – make sure that your Lithium Shuttle power button is on and that the connection from the shuttle to the flasher is secure.
Set Your Transducer Length
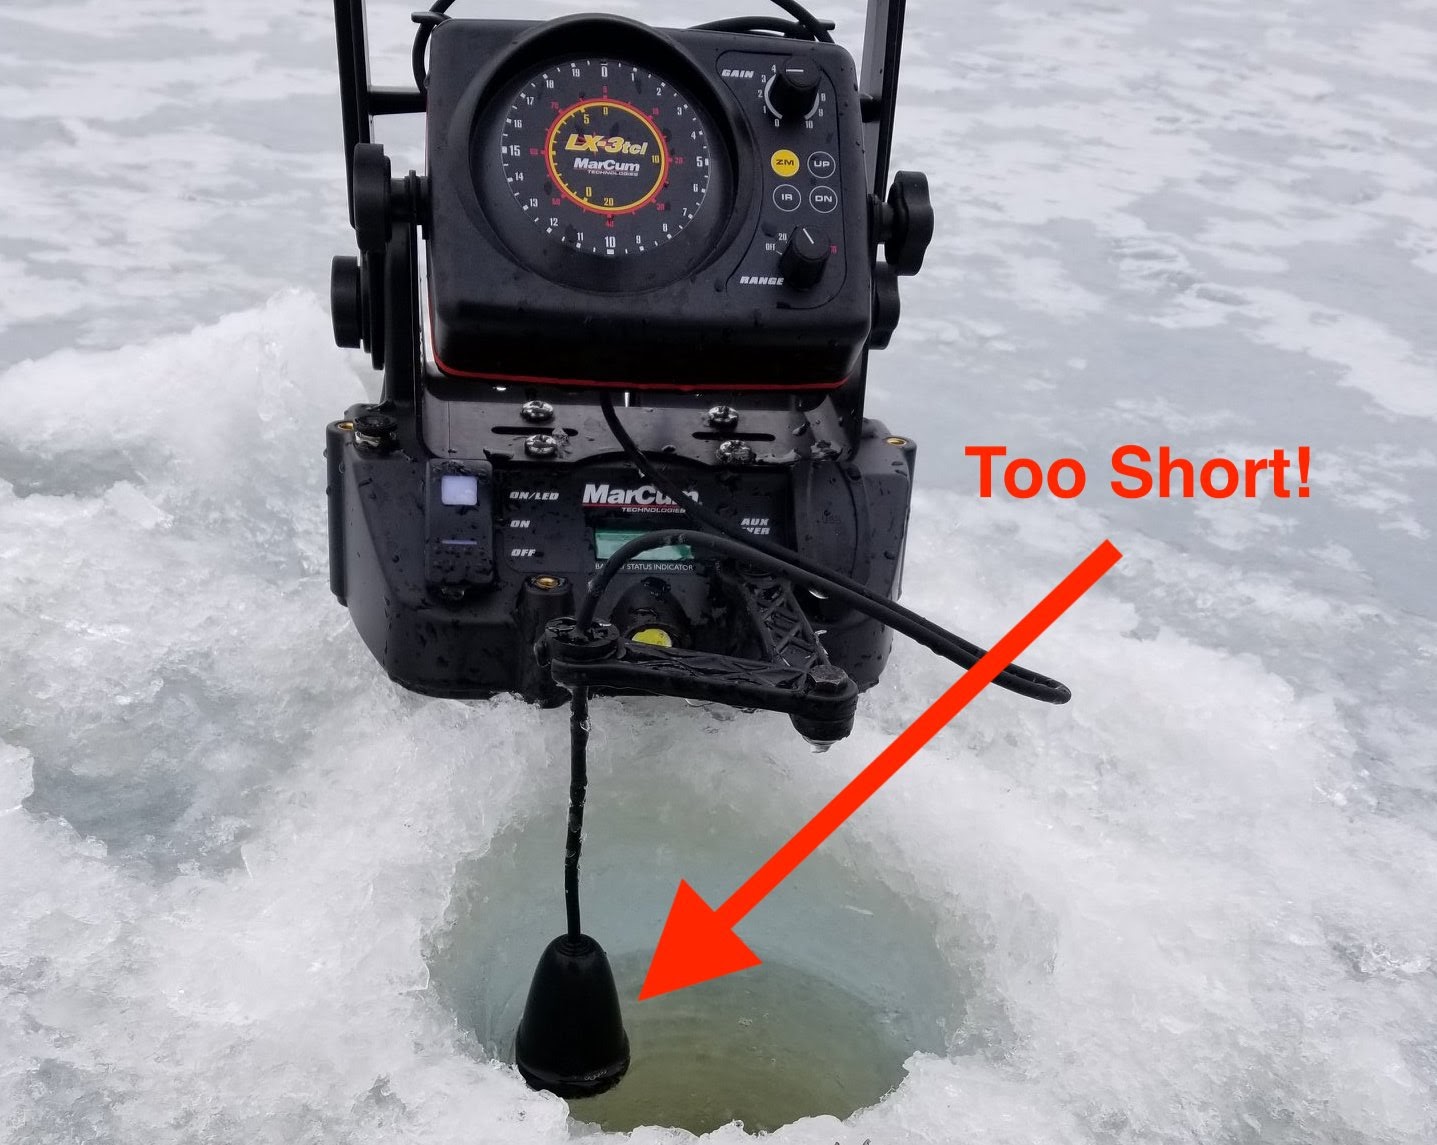
The next thing you need to do is set your transducer length. The key is to be just passed the ice to assure you don’t receive any interference. When the transducer lead is too high up in the ice column, the sonar waves may bounce off of the ice. This will give you a false return and affect the appearance of your graph.
Therefore, adjust your transducer just low enough that it breaks the ice, but short enough that it won’t get caught up in your fishing line.
Start by Marking the Bottom
After your transducer is correctly set, you will have to turn it on and start adjusting your settings. Adjusting the settings on the flasher is simple to do.
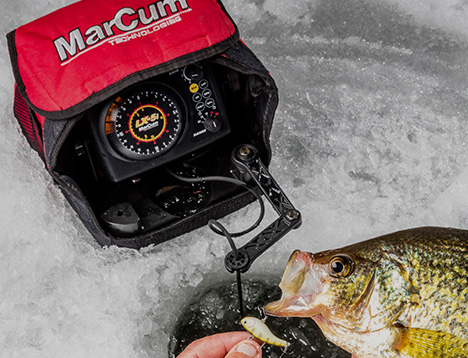
When you turn on the flasher – your unit won’t be marking the bottom. However, what you will notice is a solid red mark at 0. From here you will need to adjust your gain (also known as sensitivity). Find the gain knob on the front of the flasher and adjust it up, until you start noticing a large, consistent mark on the flasher. This will be your bottom.
Keep in Mind The Bottom Return Can Vary
The bottom return color will vary depending on its hardness. Rock, packed sand, gravel will generally produce a thick, red mark on bottom. However, if the bottom is silt or mud, it may not be hard enough to return a strong signal, therefore leaving your bottom a yellow or green color. You will still notice this mark by its depth and consistency.
Drop Down Your Lure
Once you have the bottom marked, you should be able to identify your lure once you drop down. Test this by jigging your rod up and down and watch the lure move throughout the column.
Fish Between 0 and The Bottom
Anything between 0 and that solid mark is a fish, baitfish, or lure. Once in a great while, you can mark a weed or debris.
Optimize the Gain Settings
Next you are going to have to refine your gain settings. This can be very subjective. However, to help you get the most out of the unit, you can refine the settings to better detect, separate, and monitor fish behavior.
As previously mentioned, you are going to want to either turn up the gain to receive a stronger signal and turn down the gain to see a weaker signal. If the gain is low enough – you won’t be able to see your lure mark at all. We recommend setting your lure to a green or yellow mark, therefore helping you identify fish while leaving the feedback behind.
Use the Zoom If Necessary
Once you have the bottom marked and have adjusted your gain to the optimal settings, you can then start using the zoom (if necessary). Of course, the zoom is not required when fishing shallow water but it is definitely necessary when fishing deep. It allows you to see details by focusing in on a smaller portion of the water column. Often times this means focusing on the bottom.
Of course, how you adjust the zoom is dependent upon which MarCum you have. Since we are focusing on the flasher series – we will briefly walk you through how to adjust the gain on select M or traditional LX series models. Follow the video above for the best explanation on how to achieve this.
First, you will need to hit the “zm” button on the flasher. This will zoom in on the first 5 feet of the water column. Then use the “up” and “down” markers to zone in on the precise depth you want.
By hitting “zm” again, you will be able to zoom in on the first 10 feet of the column, and the “up” and “down” buttons will give you the same functionality – allowing you to adjust the precision of your zoom.
By hitting “zm” a third time, you will be back into normal mode where you can use the whole dial.
FINAL ADJUSTMENTS
Finally, if you are getting feedback or noise from flashers around you – you can also use the “IR” button. This stands for interference rejection which means it will help you suppress competing return signals from other flashers.

The Right Flasher Makes a BIG Difference
The quality of flasher makes a BIG difference in finding success on the ice. That’s why MarCum prides itself in it’s premium features including real-time display, precise target separation, and of course ease of use. Pair it with the Lithium shuttle and you can expect days on the ice without any hassle or worry.


